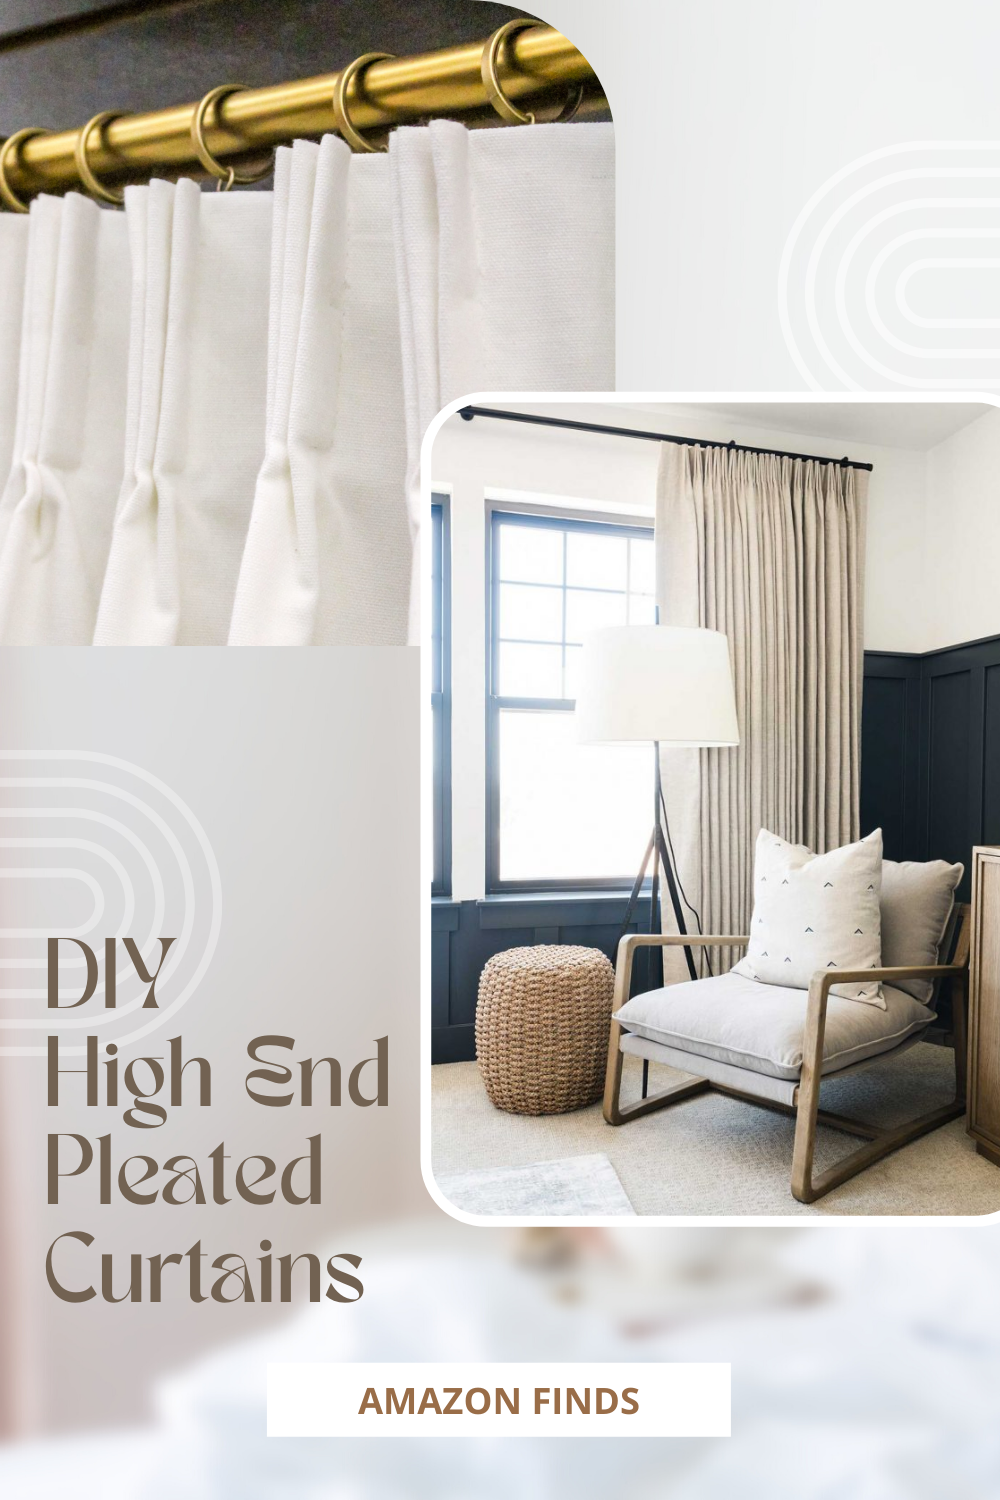
DIY Pleated Curtains
Adding curtains is always a great way to elevate the look of your home, but you have to do it right or they can end up looking messy and cheap. I’ve seen this DIY hack floating around socials lately to create your own pleated curtains, so I have rounded up all the items you will need on Amazon to create this look here! It’s super easy to mix and match different curtain and rod colors/styles to go with the design of your home. Check out the easy DIY steps below.
This post contains affiliate links. That means we may make a small commission on items purchased through links in this post at no extra cost to you!

Step 1: Choose your curtains! Consider the functionality and design for your room. Are these curtains just for show and you want to maximize sunlight? Maybe go with a sheer option. Is this a bedroom that needs to be dark while sleeping? Go with a blackout style in a lighter fabric. When choosing color, think about if you want the curtains to blend in with the paint color of your wall or if you want to create some contrast to stand out. Just make sure you get the ‘back tab’ style curtains, no grommets! And lastly, measure to choose the size. How many panels are needed to cover your window opening? More fabric means a more luxury look, check out this awesome measuring guide to figure out the correct width and length for your space. Also remember, when adding pleats it will reduce the overall width of the curtain panel so you will need at least two panels for most smaller windows.
Step 2: Choose your rod! Color options are typically black, silver, gold, or brass, so take a look around and try to match the other finishes around your home. You will want to purchase the curtain rings in the same color as the rod you have chosen. Always measure your window as well, rule of thumb is to add about a foot of extra rod space from the end of your window opening so the curtains do not block the window and sunlight when open. 4 foot window opening? Get about a 6 foot long rod. It’s also helpful to consider the length and weight of your curtains when deciding what kind of rod or mounting brackets are needed. If the rod has to stretch more than about 8 feet or if the curtains are a heavy fabric, you will need to make sure to have a center bracket and a sturdy rod.
Step 3: Attach the pleat tape! Use the heat-n-bond tape to iron on the pleat tape to the top of the curtain panel, no sewing required. Depending on the width of the pleat tape, you might need to do two rows of the heat bond tape at the top and the bottom of the pleat tape section to make sure it is secure. Here’s a great blog article with step-by-step instructions if you need more of a visual for this step.
Step 4: Add the pleat hooks! Count out the number of hooks and the number of curtain rings you have. This will vary depending on the size of your window opening and how many panels you are hanging. It’s easiest to lay each panel out on a flat surface to plan the spacing of the hooks. Each hook will up 4 slots, and then you can use 3 slots to space between each hook. Fold the curtain fabric into a pleat to make it easier to slide the hooks all the way in.
Step 5: Install your rod and attach hooks to the rings! Hang your curtain rod at the desired height above the window opening. Add the rings to the rod and then you are ready to attach the curtains. Each pleat hook will hang on one ring, and you’re done!
Have you tried this DIY trick in your home? Let me know in the comments!
xo, KT
